Generating a PDF from SharePoint used to be a common requirement and when using server-side object model, it was easy to use some kind of PDF library and generate PDFs. But in SharePoint Online we can use Power Automate to generate PDFs and the following are the steps that can be used for this.
There are two ways by which a PDF can be generated.
Using OneDrive for Business’s “Convert HTML file to PDF”
Word Online’s “Populate a Microsoft Word Template” & “Convert Word Document to PDF” (These are premium action so a premium license is required and is in preview as of Feb 2021.)
In my example the scenario is to generate an invite pass for attendees attending a conference.
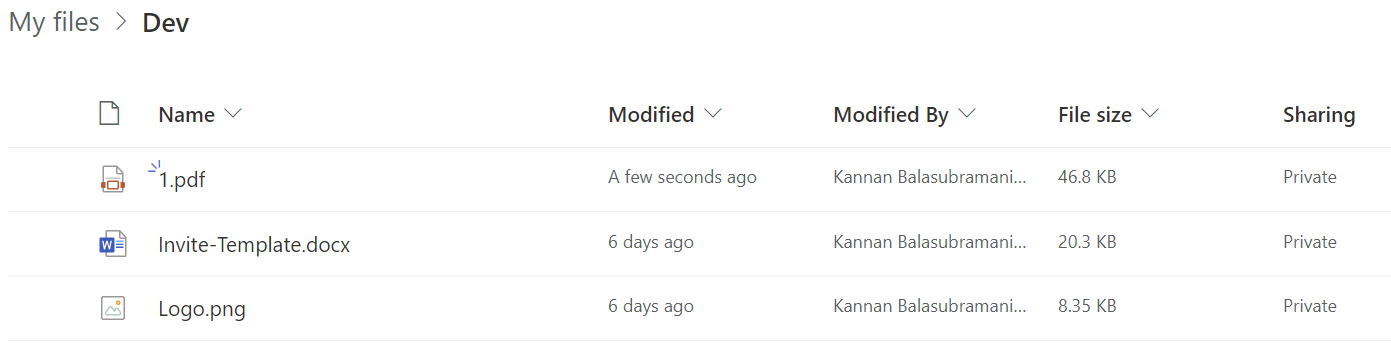
The generated PDF
The generated PDF will look like the following.
The data source
SharePoint List
Here we are using SharePoint Online and the data source is a simple SharePoint list which contains the following.
OneDrive for Business
The OneDrive for Business has two artificats
A Logo image is used for both methods.
A Microsoft Word Document (This will be used for the second method and not for the first method)
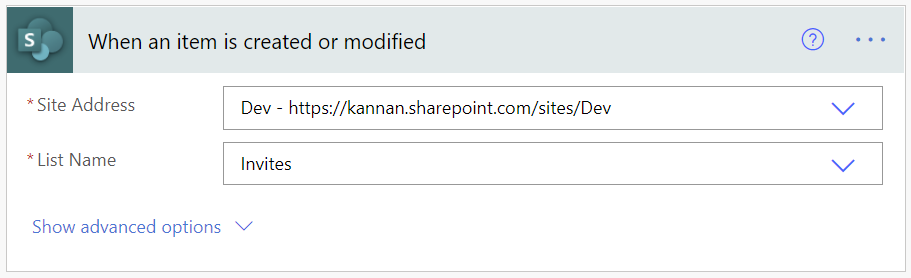
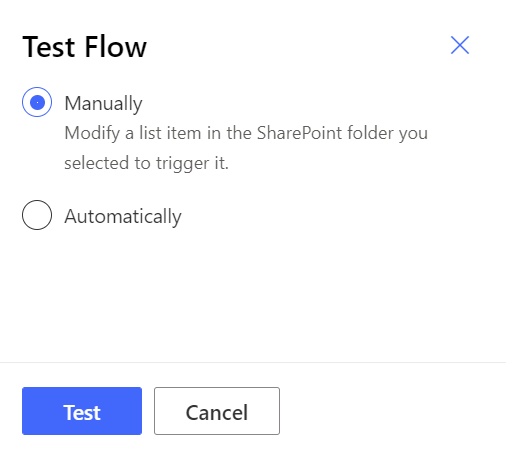
Please note that for both methods, the Power Automate is triggered whenever the SharePoint list item is created or modified.
In the below article when the product “OneDrive” is mentioned, it’s actually “OneDrive for Business”.
Method 1: Using OneDrive for Business’s “Convert HTML file to PDF”
The trigger is when a SharePoint List item is created or modified.
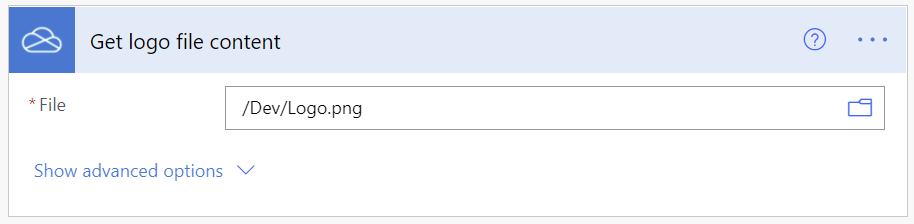
The next action would be to fetch the image of the logo located in the OneDrive.
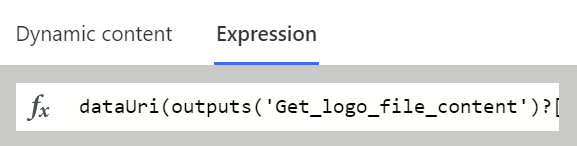
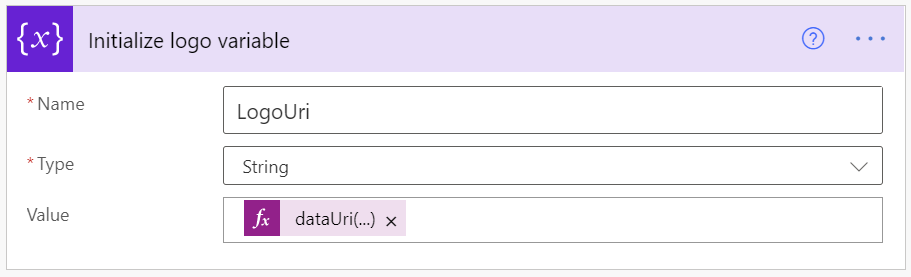
Now we have to convert the logo into a Uri format using the expression editor and initialize a variable with it.
For the seasoned HTML developer who is well versed with HTML & CSS, he/she/they can create the HTML content or the other easiest method is to use the Microsoft Word desktop software to create the HTML.
If you use a simple method, do make sure the CSS is perfect. For the most part I tried, the conversion from HTML to PDF kept ignore the CSS, hence the second method.
HTML Content Method 2: Using Microsoft Word
Open the Microsoft Word.
Design the contents.
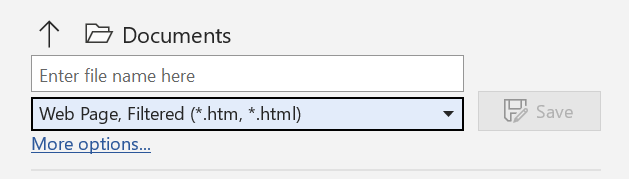
Save the file as “Web Page, Filtered”.
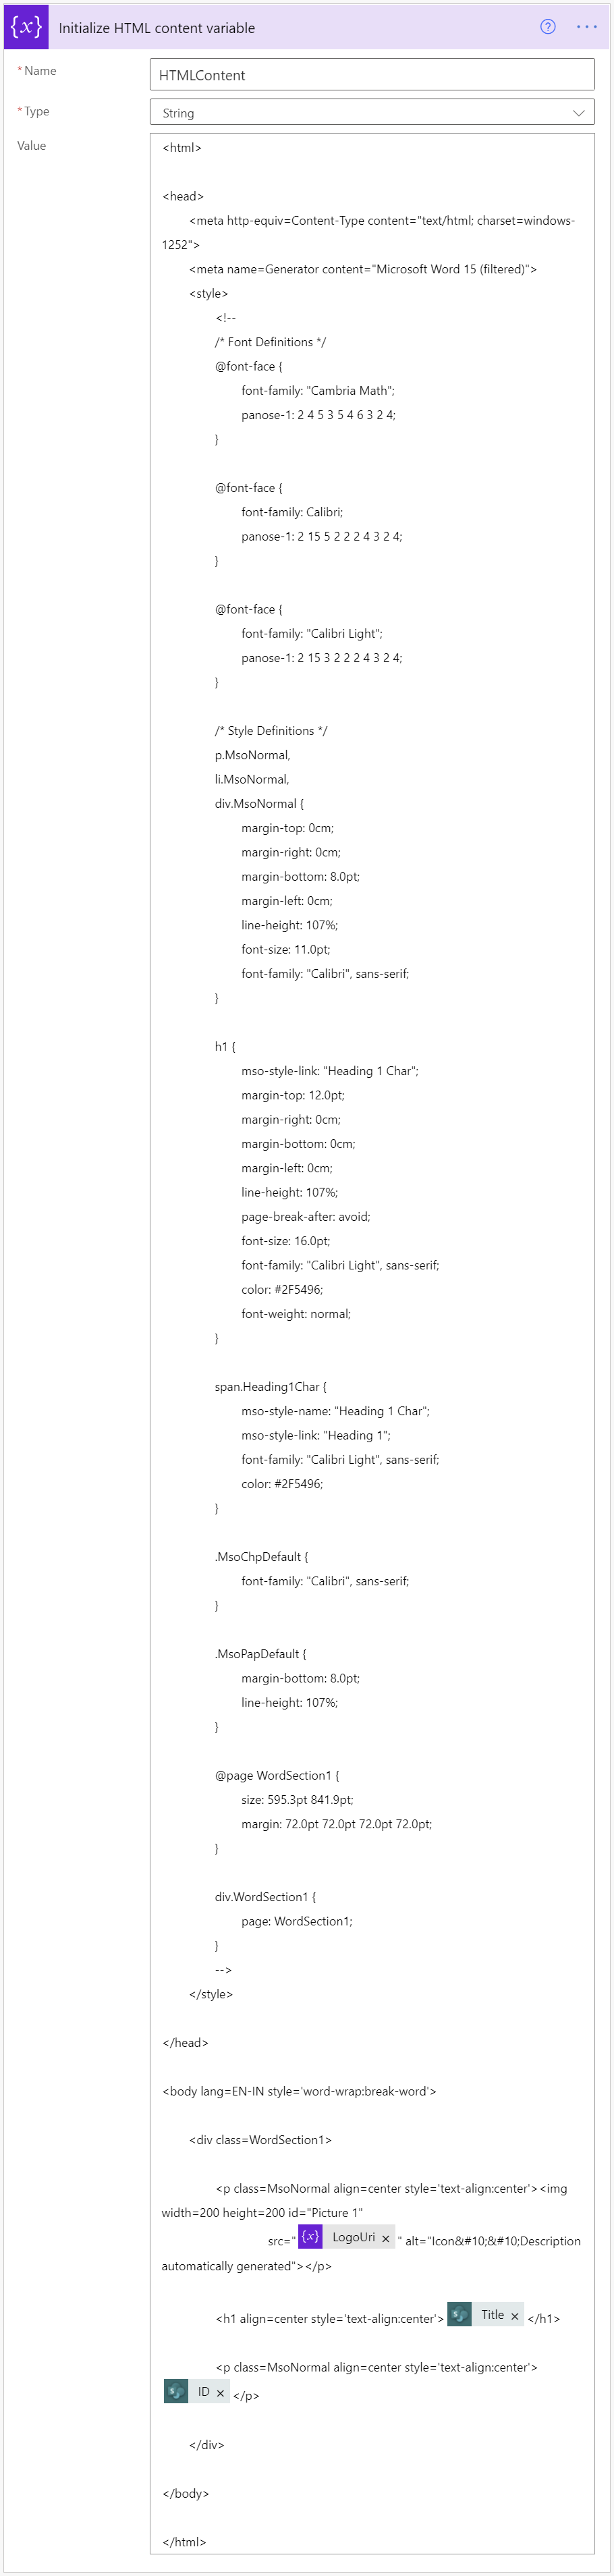
Open that file using an HTML Editor or Notepad and copy the contents.
Create an action to initialise a variable and paste the contents. Replace the image source with “LogoUri” variable, Title & ID from the trigger “When an item is created or modified”.
variables('LogoUri')
triggerOutputs()?['body/Title']
triggerOutputs()?['body/ID']
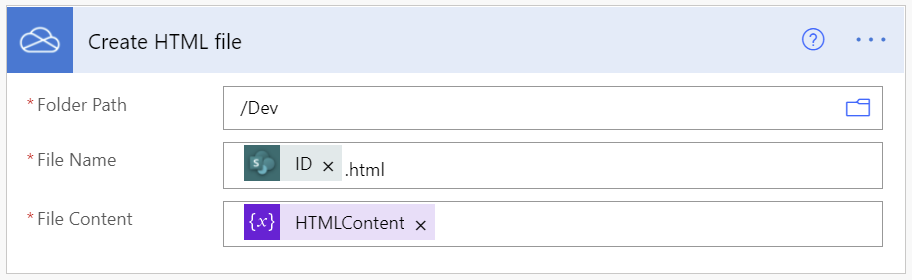
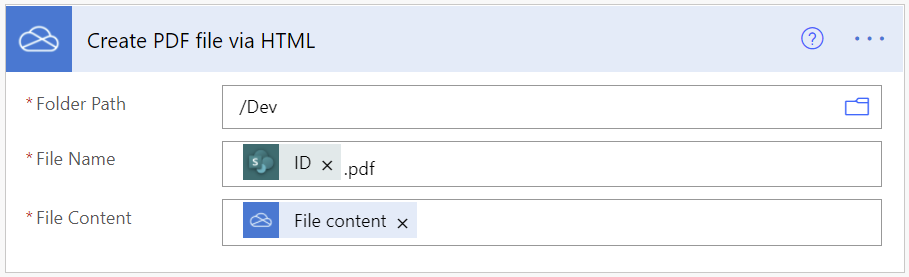
Now the HTML contents should be saved to a HTML file. We are going to use OneDrive’s “Create file” action and will use the same “Dev” folder to create the file and use the ID as file name to uniquely generate a file for each item and the file content as the “HTMLContent” variable.
triggerOutputs()?['body/ID']
variables('HTMLContent')
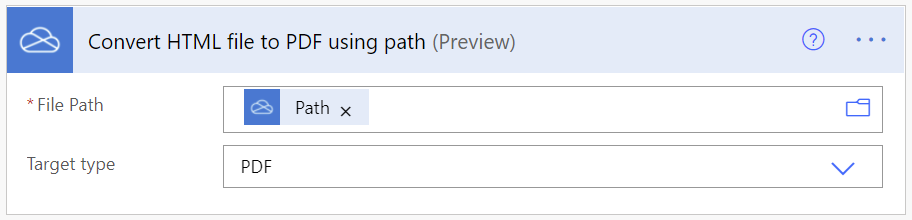
The created HTML file now can be converted to a PDF file and we will use OneDrive’s “Convert file using path” action. The “File Path” will rely on the “Create HTML file” action’s “Path” property.
Converting HTML Content to PDF
This action is in preview as of February 2021.
outputs('Create_HTML_file')?['body/Path']
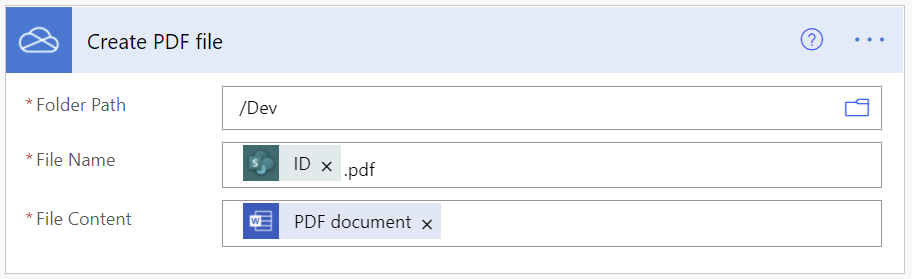
Once converted the PDF content will be saved as a file using OneDrive’s “Create file” action.
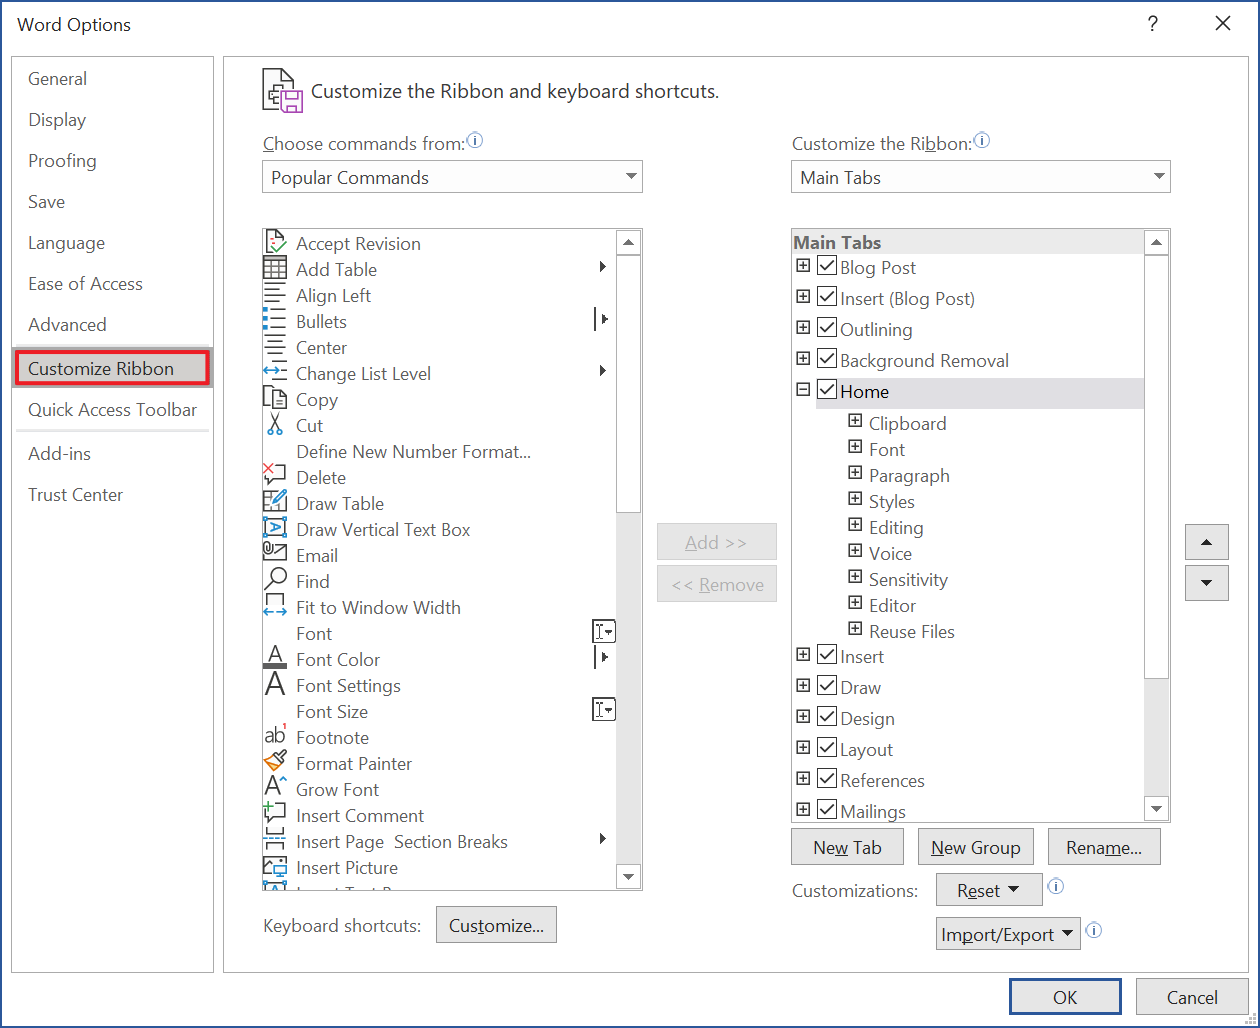
Open a word and if the developer tab is not available, configure the word to make it visible as shown below.
Click on the tab “File.
Click on the menu “Options”
Click on the tab “Customize Ribbon”
Check the item “Developer” if not already checked.
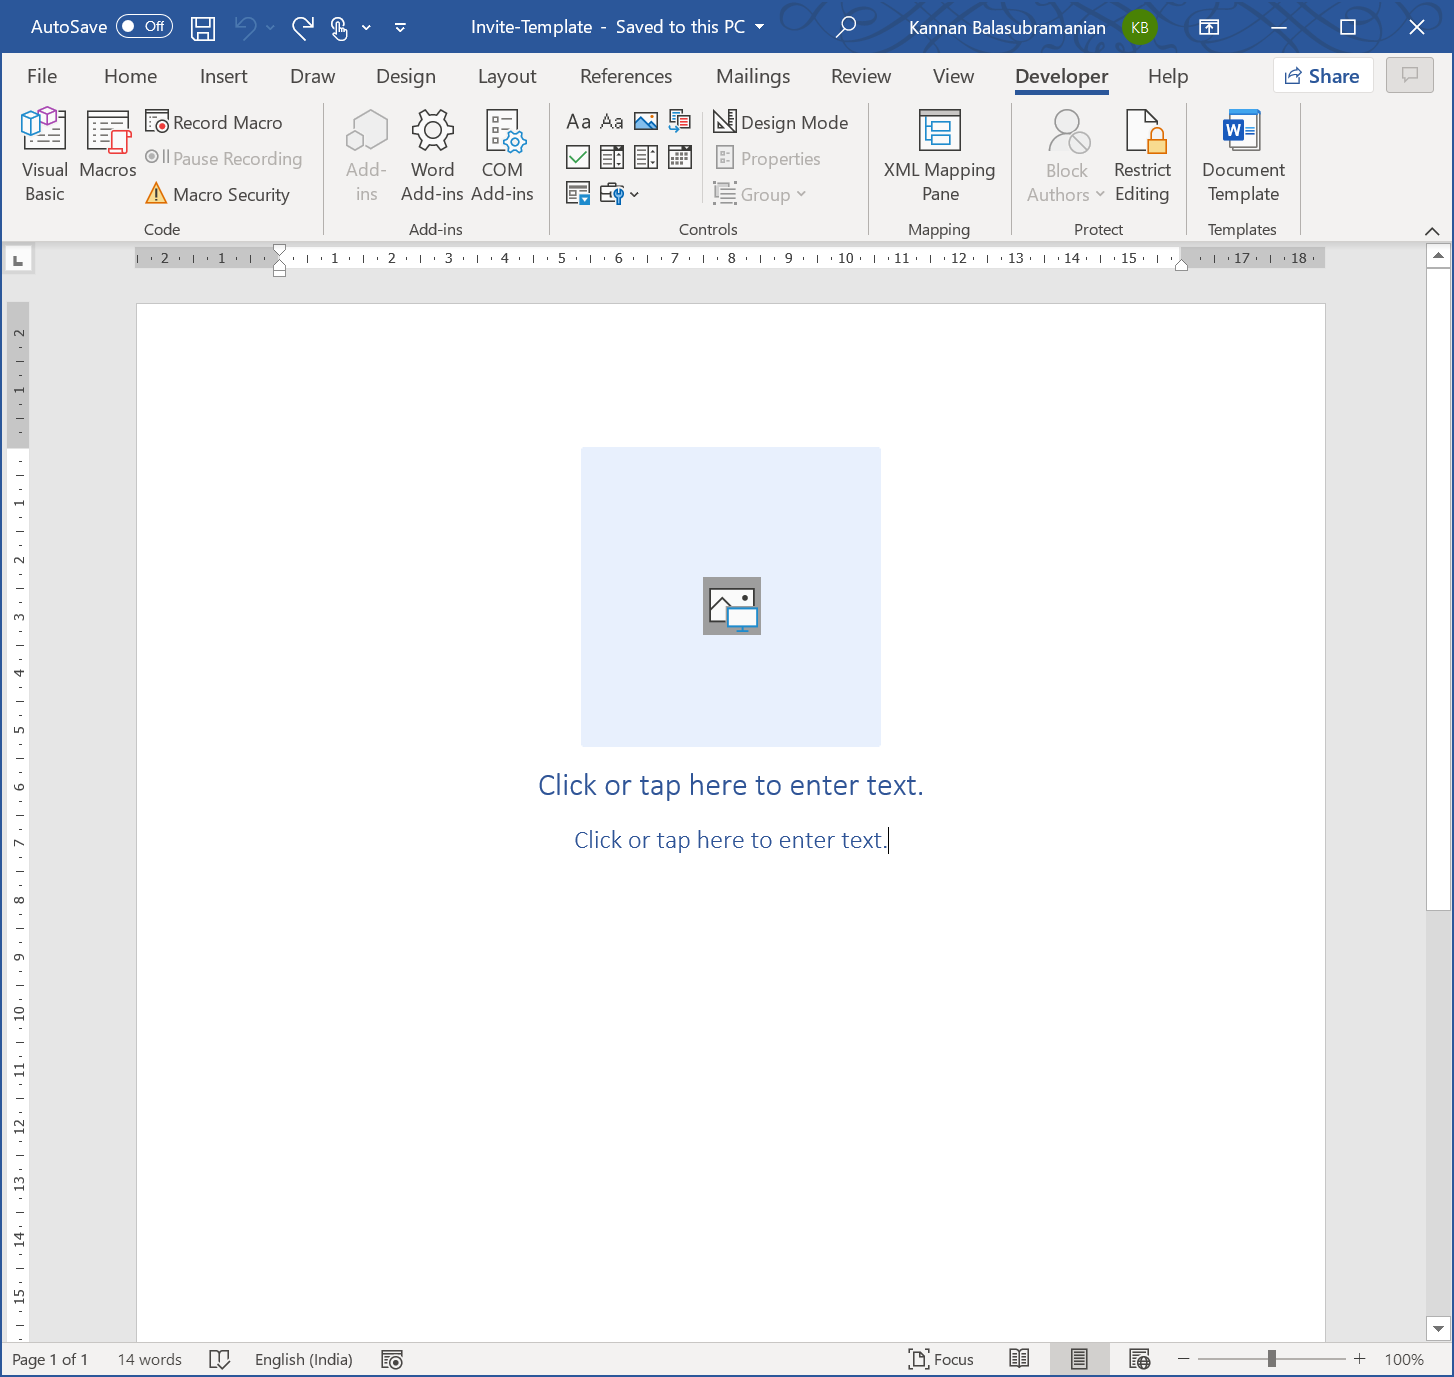
Now you should have a developer tab in the ribbon.
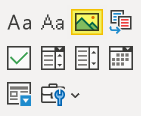
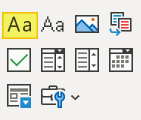
Now use the “Picture Control Content” to add a place holder for the logo.
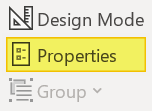
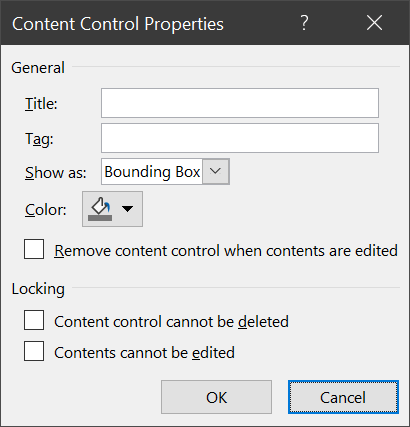
Once added, click on the placed “Picture Control Content” and then click on “Properties” in the ribbon to set the “Title” as “Logo” & “Tag” as “Logo”
Repeat the same for Title & ID using the “Rich Text Content Control”
Once added, click on the properties to set a “Title” as “Title” & “Tag” as “Title” for the title place holder and “Title” as “Id” & “Tag” as “Id” for ID place holder and use formats like alignment and text styles in the “Home tab”.
The word document should look like below.
Now save the file as a normal Word document with .docx extension. Upload the word document into OneDrive as “Invite-Template.docx”
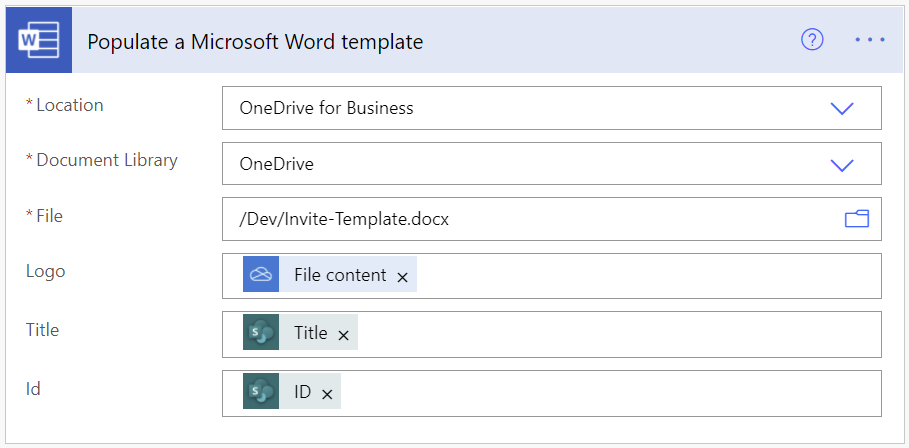
Now lets go back to the Power Automate and add an action “Populate a Microsoft Word template” of “Word Online”. Choose the location of “File” where the template file was uploaded. For Logo use the “File Content” from the “Get logo file content” (Note: We are not using the “LogoUri” variable here). For “Title” & “Id”, use the “Title” & “ID” from the trigger “When an item is created or modified”.
This is a premium action so a premium license is required and is in preview as of February 2021.
outputs('Get_logo_file_content')?['body']
triggerOutputs()?['body/Title']
triggerOutputs()?['body/ID']
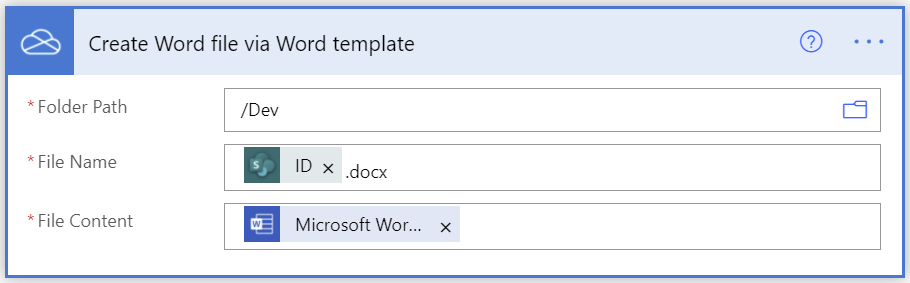
Now add OneDrive’s “Create File” action. Choose the “Folder Path” from OneDrive, where the filled Word document should be saved, along with the “File Name” being ID of the SharePoint item and “File Content” from the action “Populate a Microosft Word template”.
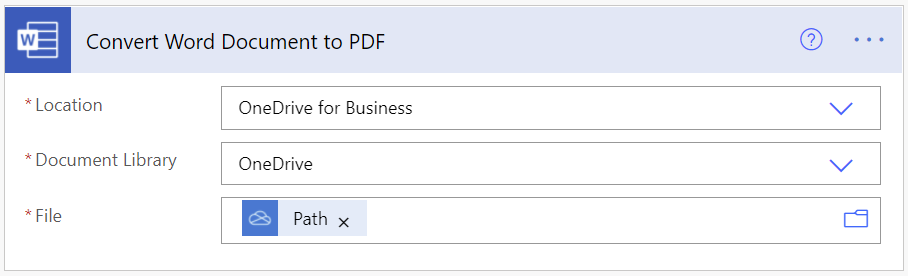
Now lets convert the Word document into PDF by creating the action “Convert Word Document to PDF” of “Word Online” pointing the “File” to the path returned by “Create Word file via Word template”.
This is a premium action so a premium license is required and is in preview as of February 2021.
Sometimes when an item is created we might need to set item level permission for those items. Fortunately, SharePoint’s REST API can help with this and Power Automate / Flow supports SharePoint HTTP calls.
For this to work, make sure the Power Automate is created with an account having site collection administrator access.
First the basics of how this works
Step 1 is to identify to whom the permissions should be granted to. It can be either a person or a group.
Step 2 is to identify what kind of permission i.e. role should be granted.
Step 3 is breaking the inheritance.
Step 4 is assigning the permission.
Second is knowing the supporting APIs to gather the information
Step 1: To whom the permission should be granted?
Individual user
To identify the individual user the following API can be used. Commonly everyone relies on e-mail ID so lets take that as an example
URL: _api/web/SiteUsers/getByEmail('email@domain.com')
Method: Get
When you use Power Automate, make sure to extract the ID and place it in a variable.
body('Get_User_Id')['d']['Id']
Site Group
To identify the site group the following API can be used.
URL: _api/web/sitegroups/getbyname('Group Name')
Method: Get
When you use Power Automate, make sure to extract the ID and place it in a variable.
body('Get_Group_Id')['d']['Id']
Step 2: What kind of permission?
This is defined by the role definitions available in the site. The following API will help in identifying the role definitions and their ID.
URL: _api/roledefinitions/getbyname('Full Control')
Method: Get
When you use Power Automate, make sure to extract the ID and place it in a variable.
body('Get_Role_Definition_Id')['d']['Id']
Step 3: Breaking the inheritance
For this first thing is we need to identify the target for which the inheritance should be broken. In the following example it’s a list item.
URL: _api/lists/getByTitle('<List Name>')/items(<Item ID>)/breakroleinheritance(copyRoleAssignments=false,clearSubscopes=true)
Method: POST
As said before permission can be assigned to an individual or a group. The following API will help with that
URL: _api/lists/getByTitle('<List Name>')/items(<Item ID>)/roleassignments/addroleassignment(principalid=<User ID or Group ID>,roledefid=<Role ID>)
Method: POST
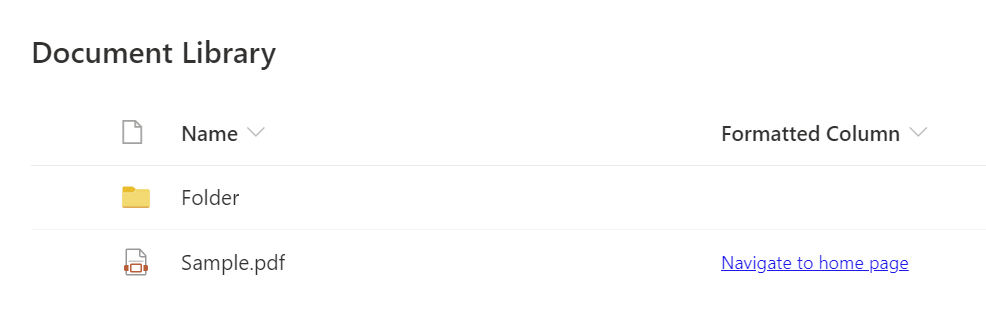
In SharePoint online, sometimes we need to hide the JSON Column formatting. For this a visibility condition can be added based on the folder content type.